Locations & Menus
Reservations
Order Online
Private Dining
Catering
Gift Cards
Rewards
Discover Burtons
Careers
Allergy Expertise
News & Events
Community
Contact Us
Share Feedback
News & Events
Home
»
News & Events
July 1, 2026 – August 31, 2026
I
News
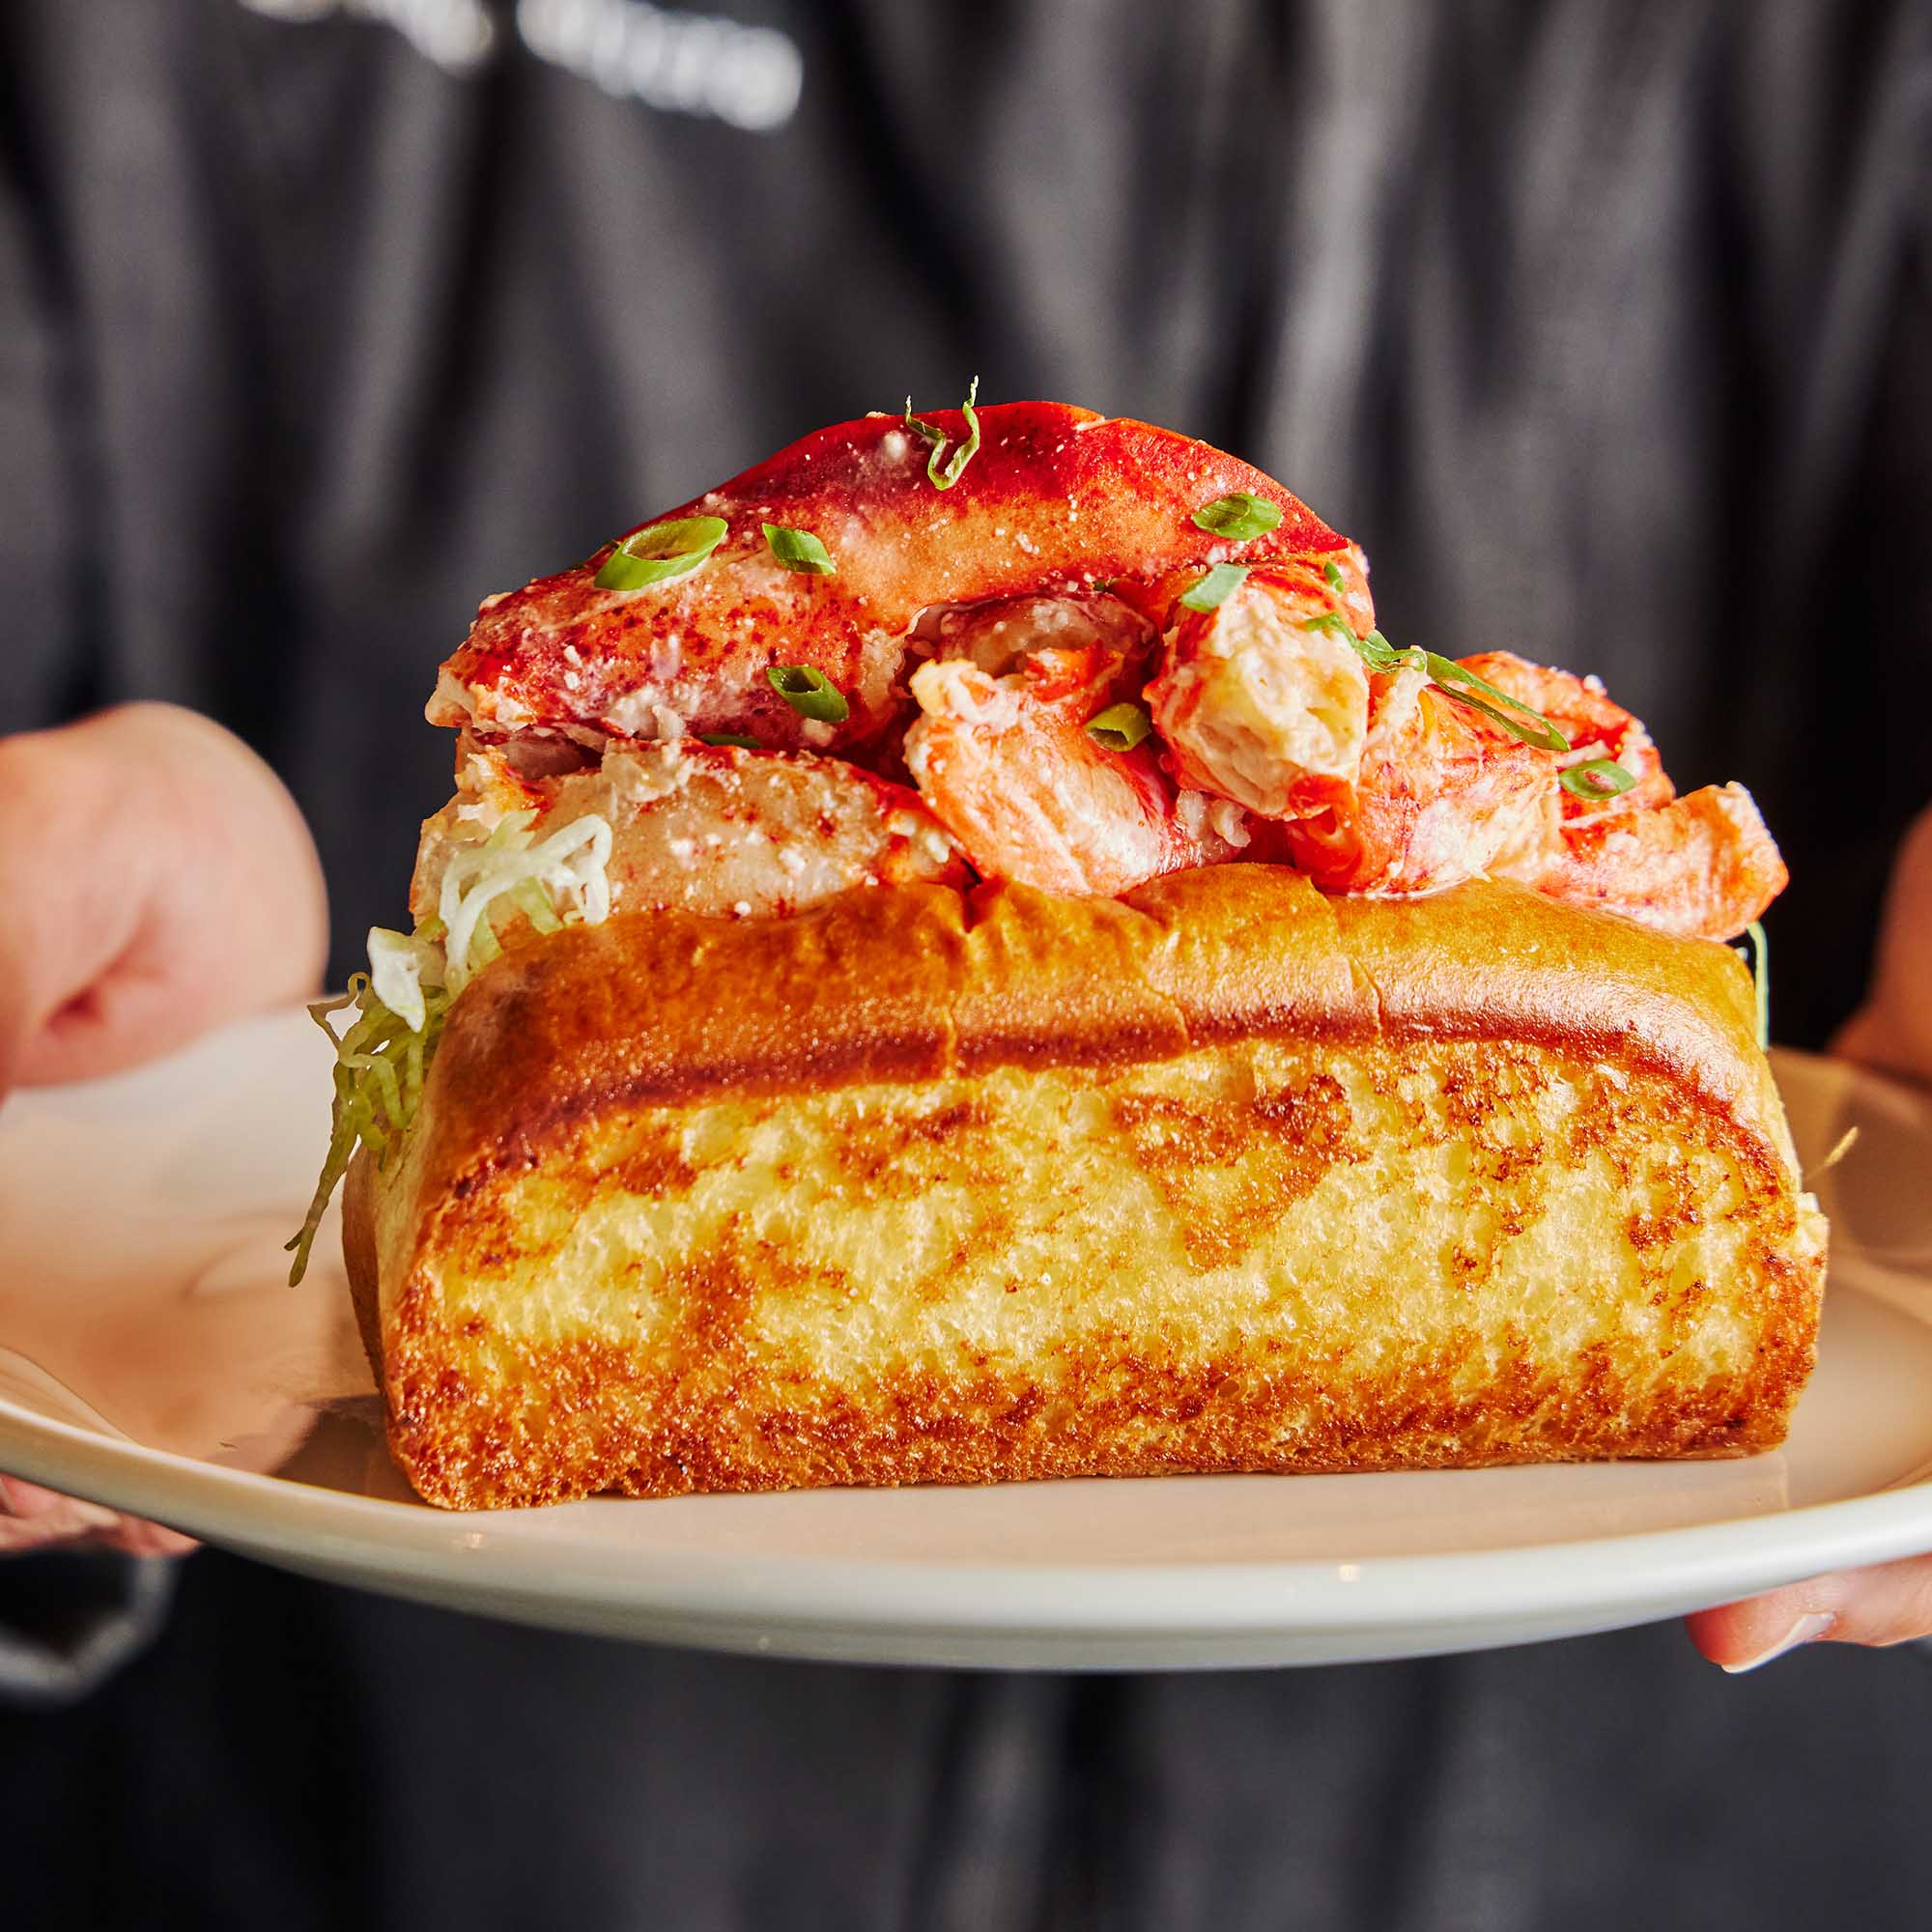
Celebrate Summer with Our Lobster Roll
Tastes like a trip to Maine for just $29.
Read More
All
Locations
x
Corporate Office
14
CT - South Windsor
17
FL - Boca Raton
13
FL - Plantation
14
GA - Atlanta
15
MA - Burlington
17
MA - Framingham
18
MA - Hingham
17
MA - Lynnfield
18
MA - Mansfield
14
MA - North Andover
18
MA - Shrewsbury
17
MA - Westford
17
MD - Bel Air
10
MD - Gaithersburg
14
MD - Riverdale Park
12
NC - Birkdale
13
NC - Charlotte | Blakeney
12
NC - Charlotte | Park Road
12
NH - Nashua
17
NJ - Parsippany
2
PA - Wayne
14
SC - Mount Pleasant
13
VA - Alexandria
20
VA - Charlottesville
12
VA - Richmond
13
VA - Sterling
18
Filter By Category
x
Events
18
News
19
Press
25